Cost Guides
The 2BHK interior checklist: from possession to move-in
Most interior delays and overruns come from doing the right things in the wrong order. This is the sequence we follow for a typical 2BHK — with the checks that save money at every stage.
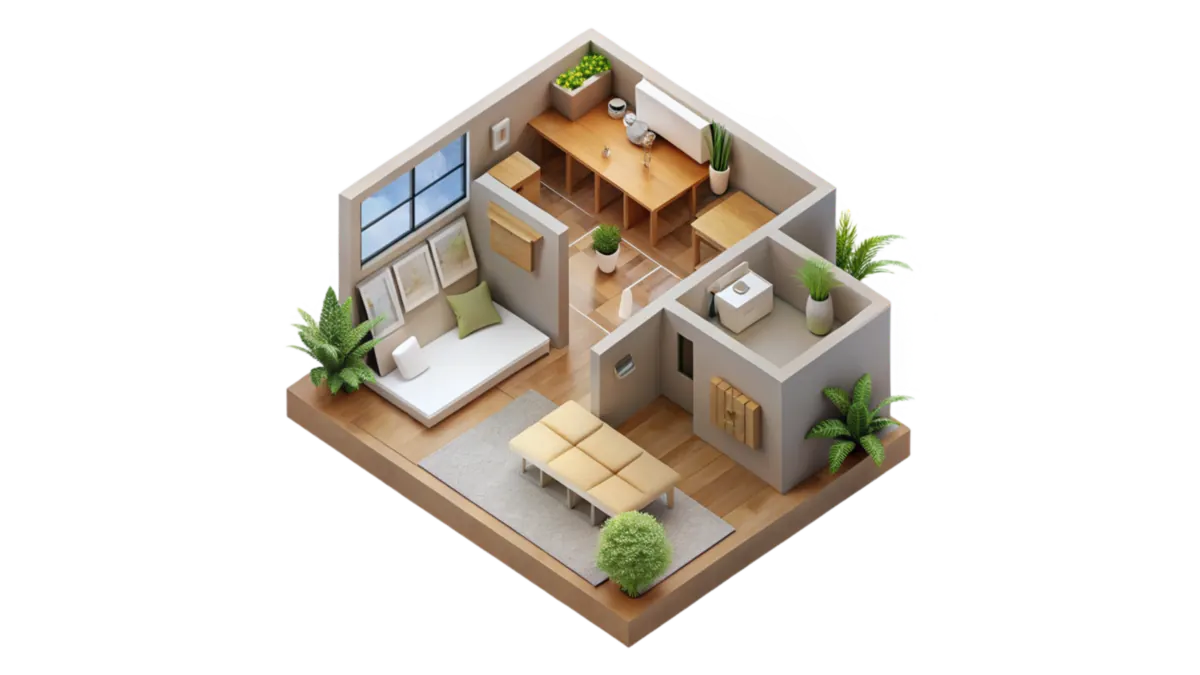
Getting the keys to a new flat is exciting for about a day. Then the questions start: what first — the carpenter or the painter? When do the electrical points need to be decided? Can the kitchen be ordered before the tiles go in? This checklist answers those questions in the order you will face them, from the handover inspection to the first night in your new home. It is written for a typical 2BHK of 650–900 sq ft in Raipur, Bhilai or Bhopal, but the sequence applies to any size.
Step 1: Inspect before you accept possession
Snags are far easier to get fixed by the builder before you take over the flat than after your carpenters have moved in. Walk the flat in daylight, with a torch, a small tester, a spirit level, a measuring tape and a bucket of water.
- Damp and cracks: look for patches, bubbling paint or efflorescence (white salt marks), especially on external walls, below windows and on walls shared with bathrooms.
- Hollow tiles: tap floor and wall tiles with a coin. A dull, hollow sound means poor bedding that may crack later.
- Slopes: pour water in bathrooms and balconies and check it runs to the drain without pooling.
- Windows and doors: open and close everything. Check sliding tracks, locks, seals and gaps.
- Electrical: test every socket and switch; check the distribution board has labelled MCBs and an RCCB (earth-leakage protection).
- Plumbing: run every tap and flush, look under basins for drips, check hot and cold lines to geyser points.
- Area: measure the rooms and compare with the carpet area in your agreement. Our carpet area calculator helps you add it up correctly.
Write everything down with photographs and submit the list to the builder in writing. Keep a copy.
Step 2: Measure, write a brief, set a budget
Before talking to any designer or vendor, gather three things.
A measured plan
Builder brochure plans are often approximate. Measure every wall, window (including sill height), door, beam depth, and the location of every existing switchboard, tap and drain. If you work with a studio, this is done for you; if not, sketch it to scale in our room planner.
A short brief
Answer these honestly, on one page: Who lives here, and who visits often? Who cooks, and how much? Does anyone work from home? Are there elders who need grab rails or a ground-level bed? Any Vastu preferences? What do you own already that must be accommodated — a piano, a large dining table, a treadmill?
A realistic budget
Our 2026 cost guide covers ranges in detail. On our rate card, core interiors for a typical 900 sq ft 2BHK cost about ₹4.2–5.7 lakh at Essential, ₹6.3–8.6 lakh at Premium and ₹9.7–14.1 lakh at Luxury, excluding GST; a complete home with new flooring, loose furniture and furnishings at Premium comes to about ₹11.8–16.6 lakh. Use the cost calculator for your own rooms. This is how a Premium complete-home budget typically divides:
| Head | Share of budget | Indicative (2BHK, Premium) | What it covers |
|---|---|---|---|
| Modular kitchen | 11% | ₹1.4–1.8 lakh | BWP ply carcass, acrylic or anti-fingerprint laminate, branded soft-close hinges and tandem drawers, corner unit |
| Wardrobes | 15% | ₹1.9–2.5 lakh | Hinged or sliding, BWP ply, acrylic / textured laminate, soft-close fittings, drawers and accessories |
| TV & display unit | 4% | ₹45,000–75,000 | Panelling with fluted or textured accents, closed + open storage, concealed wiring |
| False ceiling | 6% | ₹70,000–92,000 | Gypsum with cove recesses and layered design |
| Lighting & electrical | 9% | ₹1.1–1.5 lakh | Cove strips, COB spotlights, branded modular switches, some rewiring |
| Painting | 7% | ₹82,000–₹1.1 lakh | Full putty, primer, 2 coats luxury emulsion, one accent wall |
| Flooring | 13% | ₹1.5–2.2 lakh | Large-format glazed vitrified slabs or laminate wood floor in bedrooms |
| Loose furniture | 26% | ₹3–4.4 lakh | Upholstered beds, fabric / leatherette sofas, solid-wood dining |
| Décor & furnishings | 8% | ₹90,000–₹1.5 lakh | Lined curtains with tracks, rugs, art, planters, accent lamps |
| Contingency | 5–10% on top | — | Always. Site surprises are normal, not exceptional |
Step 3: Design — and sign off before anything is made
Allow 2–4 weeks for design. The order of drawings matters as much as their content:
- Furniture layout for every room, to scale, with door swings and circulation.
- Electrical layout — every light, switch, socket, AC, geyser, data and TV point, with heights. This is the most important drawing in the set; most later changes cost money because it was rushed.
- Plumbing changes, if any: utility sink, washing machine inlet and drain, RO point.
- Ceiling plan with lights, fans and AC units.
- Joinery drawings for kitchen and wardrobes, with internal layouts.
- Material and finish schedule — one board with every laminate, tile, handle, paint and fabric together.
- Final bill of quantities matching the drawings, item by item.
Sign off each drawing in writing. Changes after production starts are paid for twice.
Step 4: Society approvals and site setup
- Inform the society or RWA in writing; ask about permitted working hours, noise rules, lift use and any refundable deposit.
- Arrange lift and corridor protection and a plan for daily debris removal.
- Share worker names and ID copies with security if required.
- Set up temporary power and water at the flat, and a lockable store for materials.
- Photograph the flat thoroughly before work begins.
Step 5: Follow the right execution sequence
This is the order we follow on site. Doing these steps out of order is the most common reason for rework.
| # | Stage | Why it comes here |
|---|---|---|
| 1 | Protection, civil changes, any demolition | Dust and debris before any finish arrives |
| 2 | Electrical conduits and plumbing changes | Chasing walls after painting means repainting |
| 3 | Waterproofing and a 48–72 hour water test in wet areas | Leaks must be found before tiles and cabinets cover them |
| 4 | Tiling or flooring changes | Final floor level sets cabinet and door heights |
| 5 | Final site measurement for joinery; production starts | Measuring after tiling avoids gaps and forced fits |
| 6 | False ceiling framing, boarding and jointing | Overlaps with factory production |
| 7 | Wall putty, primer and first coat of paint | Before joinery so walls behind cabinets are finished |
| 8 | Joinery installation: kitchen, wardrobes, units | On finished floors and painted walls |
| 9 | Countertop, sink, hob, chimney, taps | After base cabinets are levelled |
| 10 | Light fittings, switch plates, final electrical | Once ceilings and joinery are closed |
| 11 | Final paint coat and touch-ups | Covers marks left by installation |
| 12 | Curtains, blinds, wallpaper, deep cleaning | Last, on a clean site |
The one rule that saves the most money
Never send joinery for production on the basis of pre-tiling measurements. A 20 mm change in floor level or wall plaster is enough to make a kitchen base run or a wardrobe loft fit badly.
Step 6: Room-by-room checks before you close the walls
Kitchen
- Chimney power point about 2,000–2,100 mm above the floor, plus a route for the duct to an outside wall.
- Four to six counter sockets, plus dedicated points for fridge, microwave, RO and any built-in oven.
- Gas pipeline or cylinder position agreed; water inlet and drain for the utility sink and washing machine.
- Under-cabinet light feed above every counter.
Living and dining
- TV wall: power, a conduit for HDMI and data, and the TV height decided (screen centre at seated eye level, 1,000–1,100 mm from the floor).
- AC point and drain route; curtain pelmet or ceiling track positions.
- A socket near the sofa for phones and a floor or reading lamp.
- Pendant point centred on the actual dining table position, not the room.
Bedrooms
- Two-way switching for the main light at the door and the bed.
- Bedside sockets with USB-C just above bedside-table height (tables are typically 550–650 mm).
- Wardrobe internal lighting feed and a mirror-light point at the dressing area.
- Study desk sockets and a data point in the second bedroom.
Bathrooms and balcony
- Exhaust fan, geyser point and mirror light; grab rails if elders live with you.
- Washing machine point with an earthed socket, inlet tap and floor drain.
- A ceiling-mounted or wall-folding drying rack location.
Storage is where 2BHKs feel tight first; our small-apartment storage ideas list 25+ ways to plan more of it into these same rooms.
Step 7: Paint, finishes and the last fortnight
Estimate paint quantities and cost early with our paint calculator — it helps you compare a contractor’s quote. Keep the final coat until all joinery and fittings are installed. Ask for a small labelled tin of each wall colour and leftover laminate offcuts; you will need them for touch-ups.
Step 8: Move-in week
- Ventilate the flat for at least two days after the final paint coat and any polishing.
- Do a snag walk with your designer: every drawer, hinge, light, socket, tap and lock.
- Run all taps and look inside every sink cabinet for leaks after 24 hours.
- Collect warranty cards, product manuals and an as-built electrical drawing in one folder.
- Deep clean before furniture arrives, including inside cabinets and on top of lofts.
Our design process follows these steps for every home we handle, from the first measurement to the handover walk.
Common mistakes to avoid
- Ordering the kitchen before the electrical layout is final.
- Painting fully before carpentry, then repainting everything.
- Skipping waterproofing in a “new” bathroom because it looks dry in winter.
- No contingency in the budget.
- Buying loose furniture before the joinery is in and measured.
- Leaving switch heights and TV height to the electrician on the day.
FAQ